mTCP: TCP/IP for DOS

mTCP is a TCP/IP stack for DOS. Well, not really a full stack, but rather some usefull TCP/IP tools which makes data transfer with retro computers way easier. Those tools are

  • DHCP: a DHCP client for auto-configuring your machine for use on your network.
  • FTP: an FTP client for transferring files across the network at high speed.
  • FTPSRV: a high performance FTP server that allows multiple connected clients, a sandbox area for untrusted users, etc.
  • HTGET: the HTGet program for downloading files/content from web (HTTP) servers
  • HTTPSERV: an HTTP server supporting HTTP 0.9, 1.0, 1.1
  • IRCJR: the IRCjr IRC (Internet Relay Chat) client for chatting on IRC networks.
  • NC: the Netcat command which can be used to send and receive data easily across a network.
  • PING: the Ping command for checking basic network connectivity.
  • PKTTOOL: A packet sniffer and diagnostic tool for packet drivers
  • SNTP: an SNTP client for getting the current date and time from public servers on the Internet.
  • TELNET: a Telnet client for connecting to Unix systems, BBS systems, or any computer that supports Telnet.

What I use most are the DHCP client (obviously) and the FTP server to copy files to and from the DOS machine.

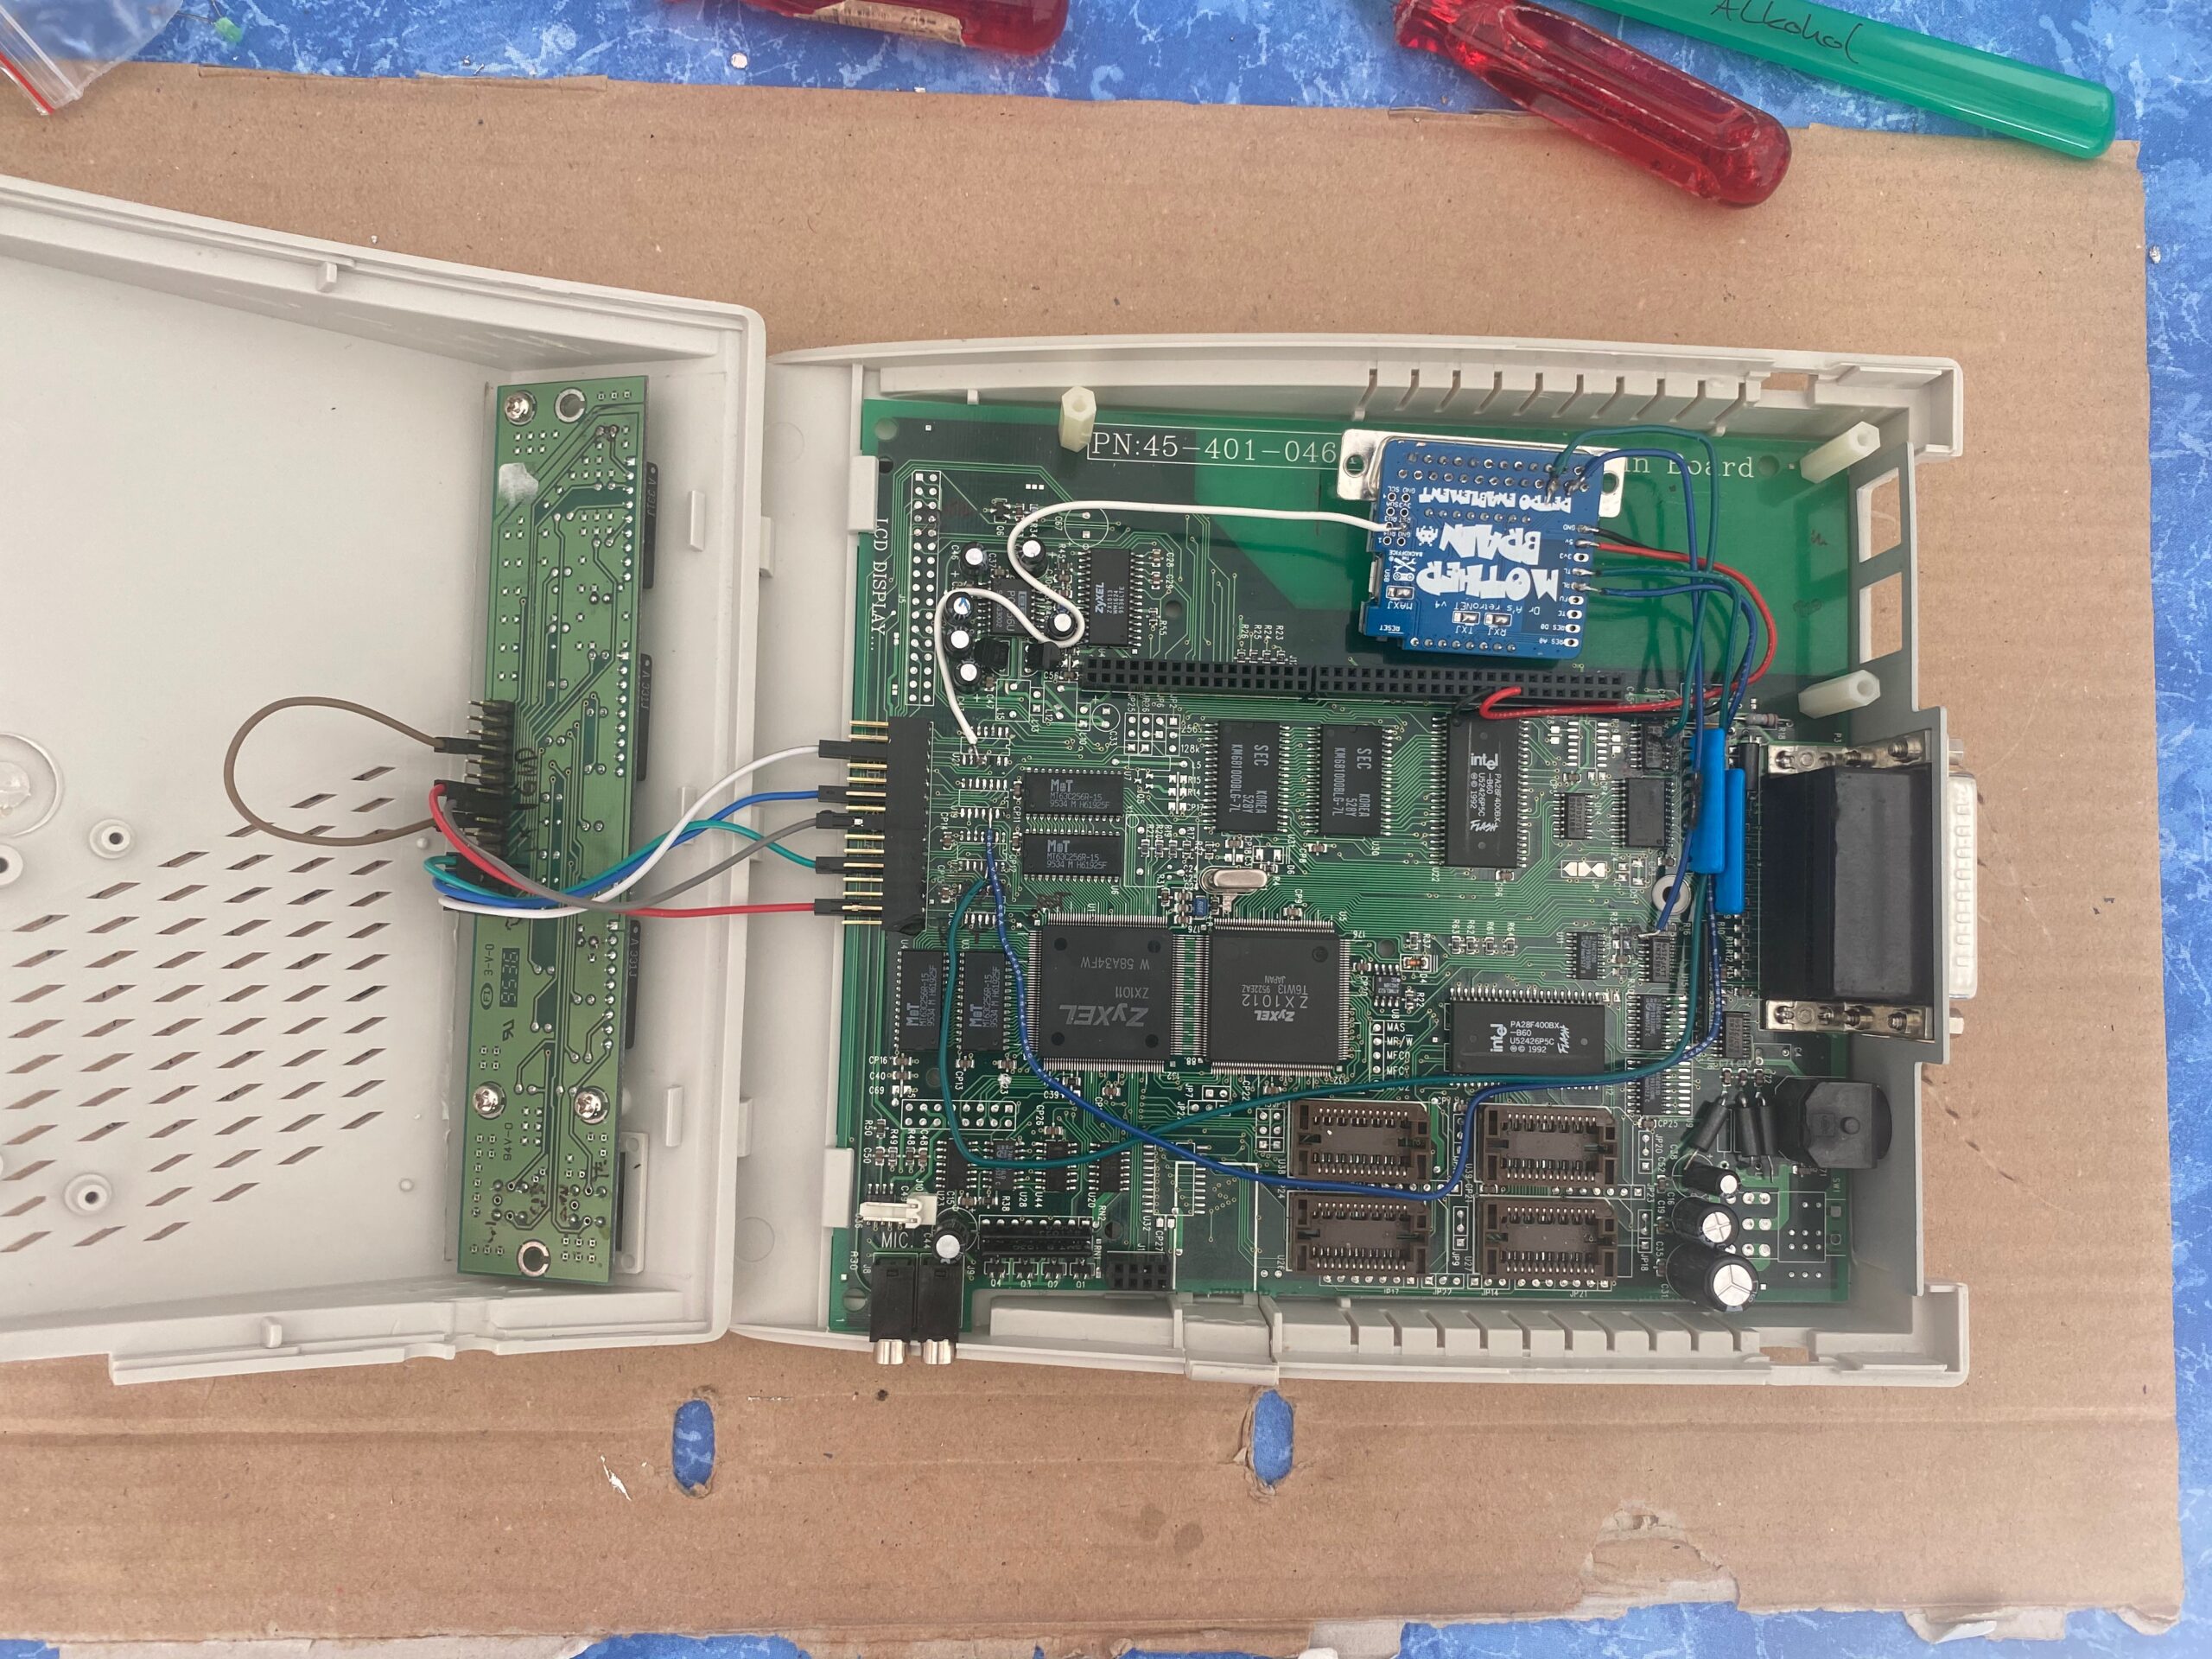
For mTCP to work you need a DOS packet driver for your network card. Here’s a zip file with the drivers I use for my network cards. If it’s not in my file, have a look at this Packet Drivers Collection.
Then you need to create a environment variable in DOS to tell the mTCP tools where to find their config file:
set mtcpcfg=c:\mtcp\config.cfg
the default mTCP config file will already work for most tools.
For convenience I use the following batch file (STARTTCP.BAT). Just remove the ‘rem’ for your network card driver:

rem this script loads the network driver and TCP stack

rem set the config file for the mTCP tools
set mtcpcfg=c:\mtcp\config.cfg

rem load the network card driver
rem for 3com NICs
rem c:\mtcp\nicdrv\3c501.com 0x60
rem c:\mtcp\nicdrv\3c503.com 0x60
rem c:\mtcp\nicdrv\3c523.com 0x60
rem c:\mtcp\nicdrv\3c5x9pd.com 0x60
rem for Intel EtherExpress16 
rem c:\mtcp\nicdrv\exp16.com 0x60
rem for Novell NICs
rem c:\mtcp\nicdrv\ne1000.com 0x60
rem c:\mtcp\nicdrv\ne2000.com 0x60
rem c:\mtcp\nicdrv\ne2.com 0x60
rem for Xircom parallel port NIC
rem c:\mtcp\nicdrv\pe3pd.exe SINT=60

rem get IP from DHCP
c:\mtcp\dhcp.exe

Posted in misc, Retro Computing | Tagged , , | Comments Off on mTCP: TCP/IP for DOS

retroNET Wifi module in a ZyXEL 2964 modem

I recently found this little retro gadget: the retroNET v4

It’s basically a wifi chip on a small board with a serial DB25 interface. With a terminal program it gives a telnet or ANSI BBS connection over Wifi and the Internet.
That’s already cool, but I wanted an even better look & feel of the good old times!

So I put it into an old ZyXEL 2864 modem!

The retroNET board is meant to be tampered with and has extra solder pads for additional connectivity. But the ZyXEL modem isn’t… and I wanted to use as much of the ZyXEL hardware as possible, like the serial port, PSU, LEDs and buttons.


The retroNET is supposed to be powered by a 5v USB power adapter. But I didn’t want to have an extra USB cable going into the modem, this would completely destroy the look of the whole thing. Fortunately the ZyXEL PSU has three power outputs: 5V, +12V and -12V. So I both disconnected the -12V and +12V on the modem by disconnecting those diodes. Then I traced the 5V to various locations on the board to find a good spot to tap it to power the retroNET. The modem does have an extra internal connector for an optional ISDN module and one of the pins of this connector does have the 5V. First issue solved, I got the power!

Now I needed to find the send and receive pins of the serial port to redirect them to the retroNET. I couldn’t easily connect to the pins on the port itself, as they are directly soldered to the board. So I traced them to their first ICs and tapped them at the feet.

Technically the retroNET is already working now with the connected Send (Tx), Receive (Rx) and 5V pins. But I wanted more: LEDs and reset button!
The ZyXEL has a separate board in the front with all the LEDs and it’s connected with a ribbon cable to the mainboard. I wanted to keep it like that because it’s easier to open the case without ripping out the soldered connections. But to get it to work with the retroNET I had to reverse the LEDs. Which meant to “unsolder” and “resolder” them in backwards. But this was the easy part. Now I have to find good spots to tap the lines which go to the connector. Unfortunately they were teeny tiny solder pads on very small ICs. While trying to get them on I destroyed about 5 pads…
I also replaced the ribbon cable with single connectors to get more flexibility, especially for getting one of the buttons on the front of the ZyXEL to work as reset for the retroNET.

It was a lot of try and error, and my solder joints don’t look pretty, but I got it to work in the end!

Posted in misc, Retro Computing | Tagged , , , | Comments Off on retroNET Wifi module in a ZyXEL 2964 modem

IBM xSeries 235

IBM xSeries 235

Model: 8671-2AX
Year: 2002
CPU: Intel Xeon 2.2Ghz
RAM: 3GB RAM (max 12GB)
Disks: 6 SCSI 146GB, 10k, HotSwap
other: Floppy, CD-Rom,
IBM ServeRAID 4Lx Controller,
2 redundant PSUs, HotSwap

This machine is a tank of a server! It booted just fine after 15 years in storage, no issues at all!
But it takes its time doing a lot of internal checks after powering on, the boot time is about 3min. And it makes a lot of noise. The fans are starting already when plugged in, even before pressing the power button!
Its modular design makes it very easy to change and replace parts, no screwdriver or other tools are needed. Almost everything is hot pluggable: PSUs, fans, disks, PCI.
It’s default configuration is as tower model. But when removing its feet, it’s exactly 19″ high to fit in a rack. IBM even sold rack mount kits to convert the case and add rails.

I mainly used it as an VMware ESXi host. But replaced it later with less power hungry servers.

Posted in IBM, Retro Computing | Tagged , , | Comments Off on IBM xSeries 235

IBM Netfinity: fixing “RF-ID Tag has changed” issue

When I booted my old IBM Netfinity 3000 the first time after about 20 years in storage, I was greeted with a bang and smoke!
I was afraid the server just died, but luckily it still booted.

Well, kind of…

It seemed to pass the initial hardware checks and BIOS. But soon after it shows some strange messages:

  • The RF-ID Tag has changed.
  • System-security – Keyboard is locked.
  • 176 The system has been tampered with.
  • Turn power to your system OFF and then ON.
  • Your system is now locked.

After a little bit of Google magic, I found this hint in an online forum.
It seems to have blown three capacitors:

IBM motherboard has 3 bad capacitors that need to be replaced.
Board component locations are C345, C346 and C380. The values
that should be used for all three are 560uF @ 25Volts.

And indeed, those three capacitors were blown, as you can see in the photo.
So I ordered some new caps and while waiting for the delivery, I tried to find out how to get the mainboard out of the server case.
There wasn’t an obvious way to remove the plastic handle or the sides to get to the back of the mainboard. So I had to google the manual…

The mainboard can be removed by unscrewing the bottom of the server!
First remove the two feet on the back. Then remove the two screws below the feet. Now the bottom of the server can be removed! Below the mainboard there’s a lever, pull that to release the mainboard. Slide it down to completly remove it from the case. No need to remove the PCI/ISA cards, as they are connected to the riser and not directly to the mainboard, nor are the power cables. Very thoughtful design!

Now it was just a matter of soldering the old capacitors out and the new ones in. They are quite large, so it was pretty easy to access and without breaking something else on the board.

And the server is happily booting forever after.

Posted in IBM, Retro Computing | Tagged , , | Comments Off on IBM Netfinity: fixing “RF-ID Tag has changed” issue

IBM Netfinity 3000

IBM
Netfinity 3000

Model: 8476-50X
Year: 1999
CPU: Pentium 3, 500Mhz
RAM: 192MB ECC (max 384MB)
Disks: 2x SCSI 18GB
other: Floppy, CD-Rom, DAT Tape

We sold quite a few of those little IBM servers. If I remember correctly we installed WinNT 4 on most of those. They are quite heavy, but fortunately they have a handle on top to carry them. It can be opened without tools but with a (golden) key. There are 3 PCI and 3 ISA slots available, mounted upside down on a riser card. Ethernet is onboard, as is the graphics card. The CMOS battery is an easily replacable CR2032 3V. There are only two slots for the harddisks, but they are easily reachable even with short SCSI cables. Inside the side panel there’s a big sticker with the mainboard layout, RAM configuration and CPU switches.

The mainboard can be removed by unscrewing the bottom of the server!
First remove the two feet on the back. Then unscrew the two screws below the feet. Now the bottom of the server can be removed. Below the mainboard there’s a lever, pull that to release the mainboard. Slide it down to completly remove it from the case. No need to remove the PCI/ISA cards, as they are connected to the riser and not directly to the mainboard, nor are the power cables. Good design!

Posted in IBM, Retro Computing | Tagged , , | Comments Off on IBM Netfinity 3000